How hard should you tamp when making espresso at home?
Simple tips for home baristas

When making espresso, tamping the ground coffee — both evenly and consistently — is an essential step in the espresso preparation. That will impact the way the water will flow through the bed of coffee and therefore will influence the flavor of the espresso.
With this guide we’re sharing a few simple tips, as well as answer frequently asked questions from beginner home baristas, such as: “How do you tamp coffee correctly?” and “How hard should you tamp the coffee?”.

Why is tamping important when brewing espresso?
What tamping the coffee does is this: it removes the air pockets in between the coffee grounds and forces the water to flow evenly through the bed of coffee, extracting the flavor in an uniform way.
For example, imagine you don’t tamp the coffee at all (i.e. the coffee grounds are loose). In that case the water doesn’t have a compact layer of coffee grounds to go through, and it will likely make its way through all the gaps and channels. It will not only flow more quickly, but it will also not properly extract all the soluble compounds found in the coffee, resulting in an under-extracted shot of espresso.


First things first. Make sure the coffee is leveled!
Place your dose of ground coffee into the filter basket. Now, as mentioned above, we want to avoid water flowing erratically through the coffee and producing an unevenly extracted espresso. Therefore, before applying any pressure, we want to make sure the coffee is leveled and evenly distributed in the basket. There are a couple of ways to ensure the coffee is distributed well:
Manual distribution
Tapping gently the sides of the portafilter will push the coffee grounds to the edges of the basket and even out their density. Doing this can be challenging at the beginning, but with continuous practice you’ll get more fast and consistent.
Using a WDT tool
Stirring the coffee in a circular motion (you want to start at the bottom of the basket stirring vigorously, then slow down as you make your way to the top) will break the clumps, fluff up the coffee and help distribute the grounds across the entire surface of the basket. This helps achieve a more even espresso extraction and reduces channeling. Before I move on to the next step, I always gently tap the portafilter against the counter (I use a tamping mat). This settles everything into place and collapses the air pockets.
Using a distribution tool or coffee leveler
A lot of home baristas employ the use of a distribution tool. One thing to keep in mind — this tool can only distribute the top part of the coffee bed. But, you want to make sure the coffee is well distributed both at the bottom, as well as top of the basket. This is why I recommend using a combination of both: first the WDT tool, then the leveler.
Now that the coffee has been properly distributed in the basket, we’re ready to proceed with our tamping!
How do you tamp coffee correctly?
First, two comments here:
I recommend investing in a tamping mat that wraps around the edge of your espresso bar or counter top. This will not only help keep a more stable posture during tamping, but it will also protect the surface from any denting or scratches.
Avoid using the spouts, because the pressure applied during tamping can bend or damage them. Instead, rest your portafilter against the corner of the counter.
Now, let’s tamp!
Step 1
Turn your hip towards the counter, maintain your wrist straight and your elbow bent at a 90 degrees angle.
While tamping, I like to wrap 3 fingers around the tamper’s handle and have both the thumb and index finger tips touching the base of the tamper, as well as the basket. I noticed doing so helps me achieve a more leveled and consistent tamping each time I make espresso.
Step 2
We’re looking to compress the coffee grounds until they’re tightly packed together. Having a perfectly horizontal bed of coffee and of even density will promote an even flow of water and help achieve a well extracted shot of espresso.
I recommend guiding yourself after this rule: keep your tamper leveled at all times and start pressing down the coffee.
Step 3
When the coffee stops moving down, it means the coffee is fully compressed and you have reached maximum density. The coffee won’t move any further and there are no benefits from trying to overdo it.
Your job here is done and you can go ahead, lock the portafilter in the espresso machine and pull your shot of espresso!
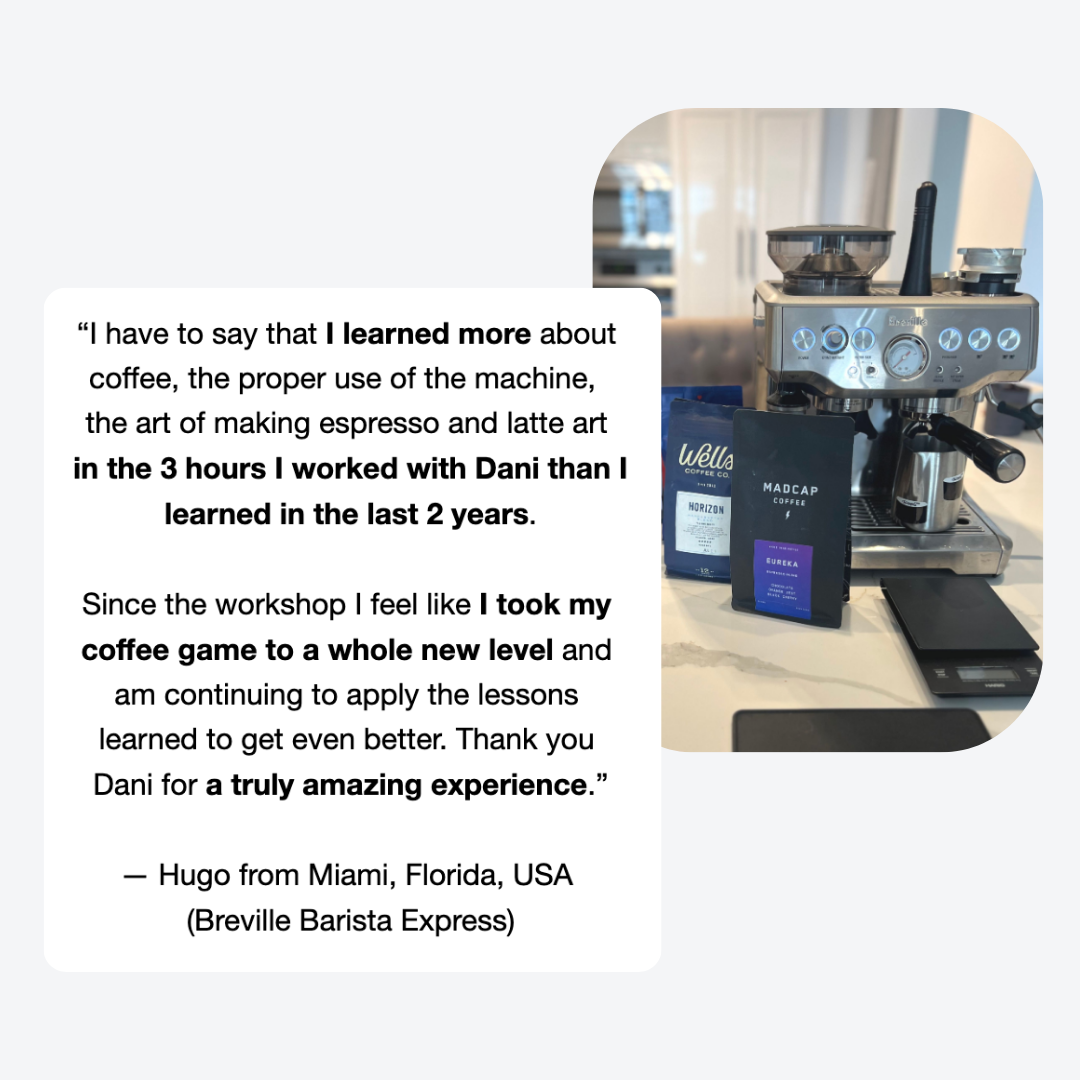
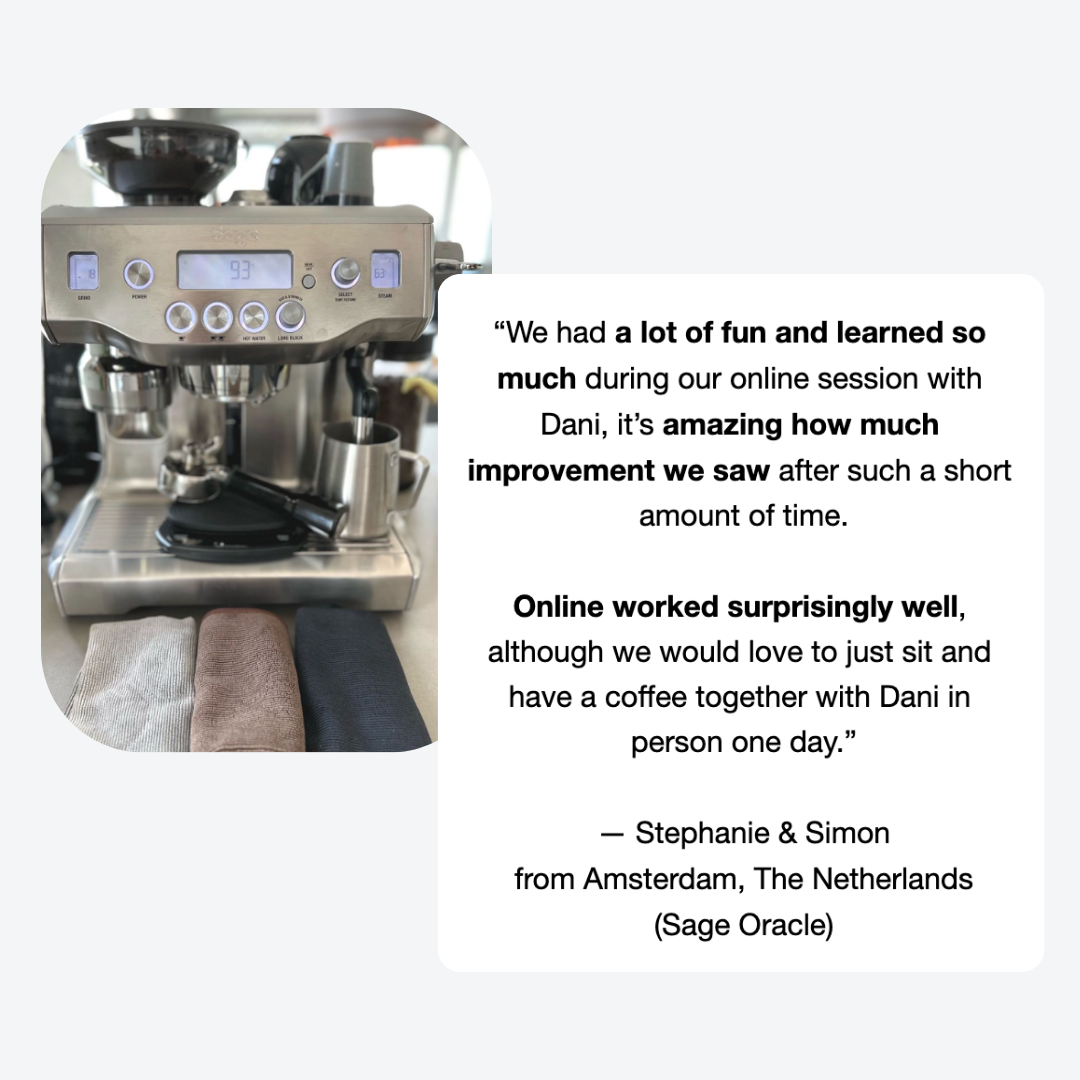
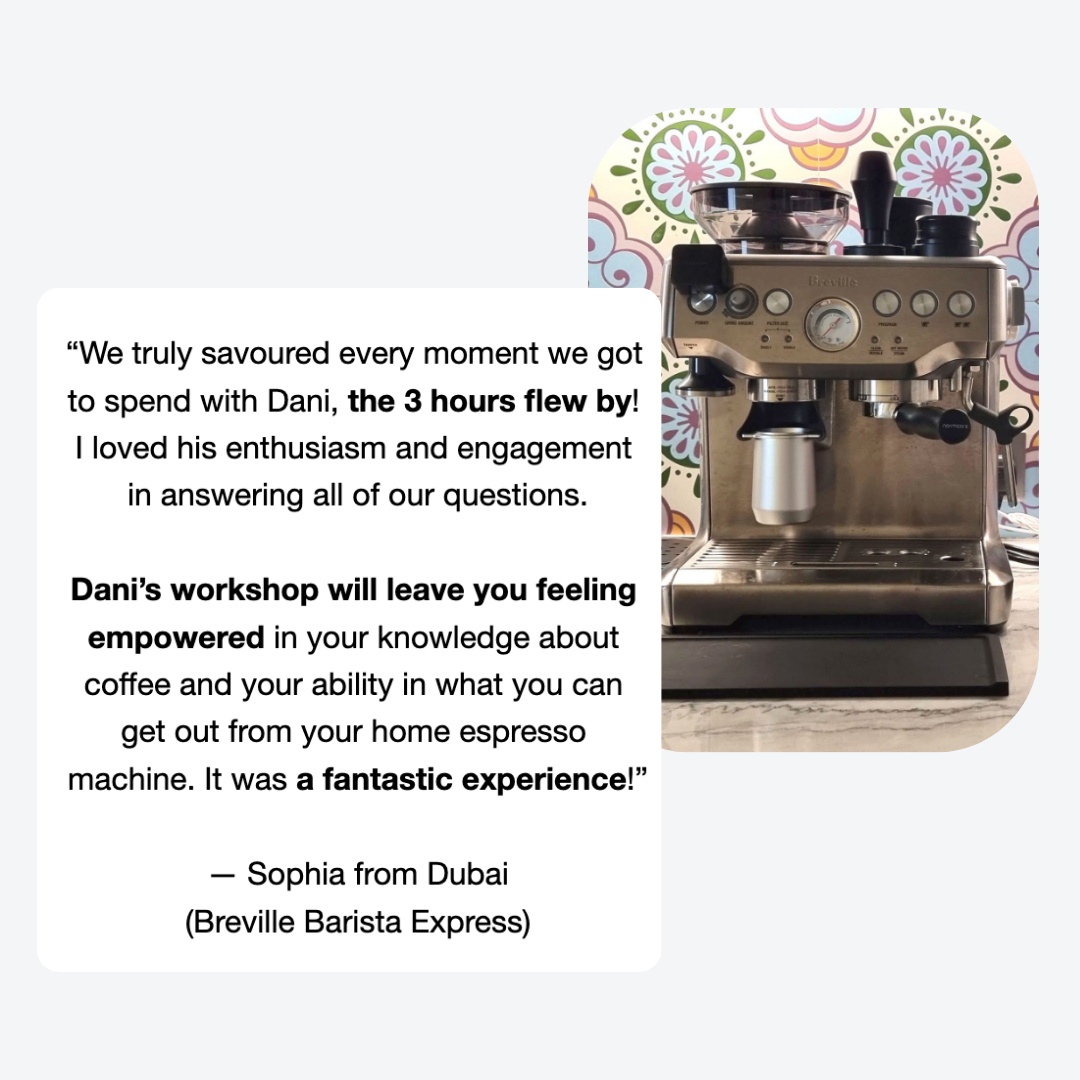
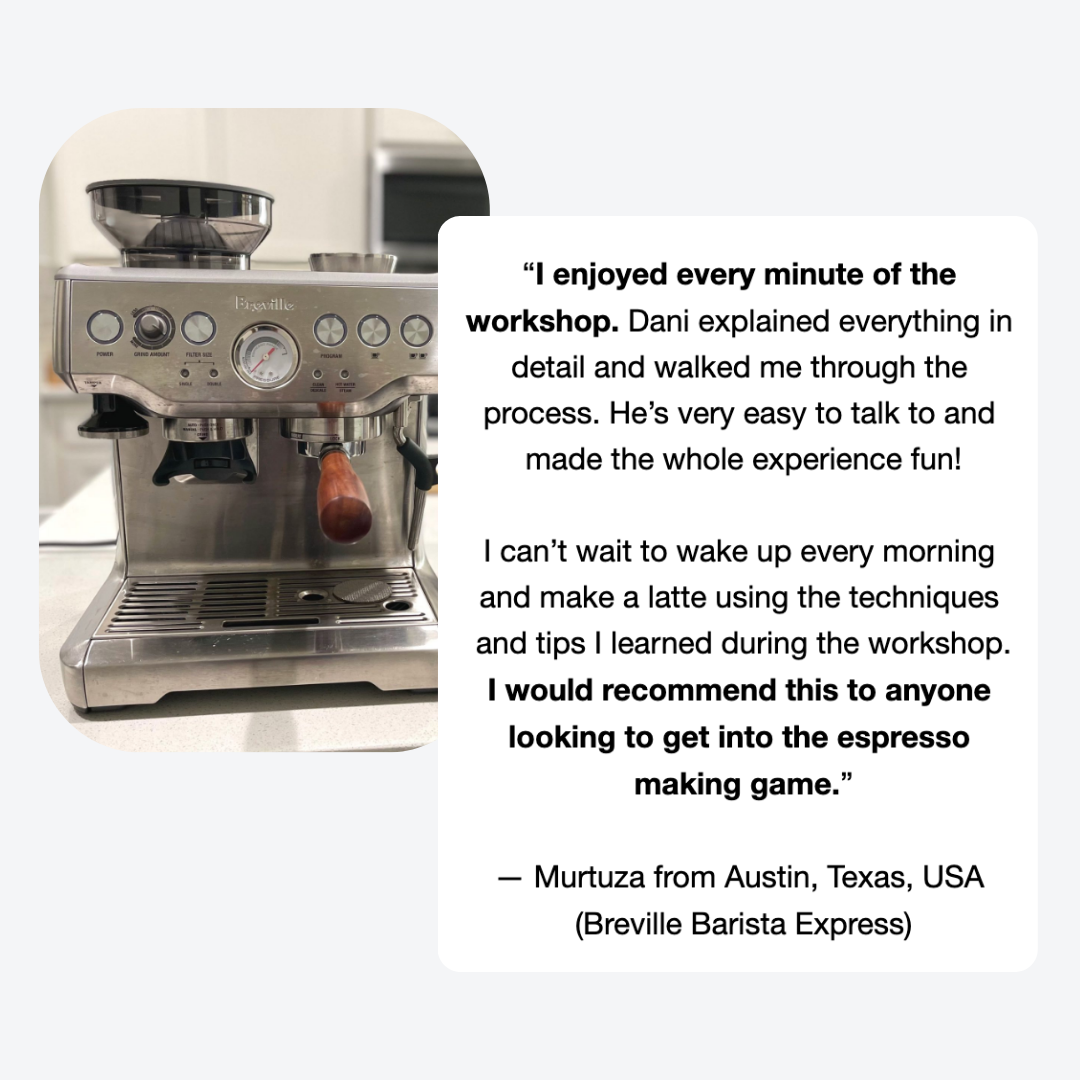
I hope you find these tips helpful and, if you’d like to dive deeper, you may consider our espresso and latte art home barista workshops. Happy brewing!