How to improve your latte art at home
3 tips for home baristas
Latte art is by no means easy – it takes patience, persistence and continuous practice to make incremental improvements to your technique and workflow. And, let’s face it, compared with a professional barista, who gets to do hundreds of daily pours in a busy café environment, as a home barista you merely have a few tries a day. Maybe on a good day you get to make 3 - 4 coffees, your sole opportunities to practice and make progress compared with the day before.
As I often mention on my Instagram account, for better chances at successfully doing latte art at home, I recommend focusing first on steaming milk to the right texture. Working with milk that’s either too thin or too foamy will make even basic pours difficult. But, once you’re able to be consistent and create that beautiful silky micro foam, your latte art patterns will have more success coming to life.
Besides the milk texture and the pouring technique, there are a few other practical tips that I’m excited to share with you in this article. These come from my experience as a professional barista, as well as teaching hundreds of home baristas during my online workshops. I’m confident these tips can help improve your latte art at home!
Tip 1: Choose the best cups for latte art
Before we go further: taste matters and it’s important that you brew a high quality espresso and steam milk to the right texture. When you combine the two, your coffee will not only look beautiful, but will taste delicious too!
The form of the cup matters
If you’re looking to improve your latte art, the cup you use is actually very important! You might have a favorite “Boss of the year” or “Best sister in the world” mug, from which you enjoy drinking your coffee. But, a tall mug with straight walls may not be the best vessel to pour your latte art into. It’s possible, but especially for beginner home baristas, it will be far from ideal.
Shape – It’s easier to pour and practice latte art in cups which have a round shape and a curved interior. This will help the espresso and the milk to mix, and overall create better color and contrast in your latte art. When you start to pour, you want the milk to flow gently and smoothly in the middle of the espresso, and not bounce off the walls, leaving white marks (marbling) on the surface.
Opening – You’ll notice better results pouring latte art in a cup that has a wide opening, since this gives you a larger surface area to work with. If you want to create more elaborate patterns, such as a rosetta or a swan, having more space to work with will help to improve your latte art designs.
Latte art cups & the espresso machine
Working with a shorter and wider cup means it will fit easier under the portafilter. So, you can pull your shot of espresso directly in the cup (make sure to preheat the cup first!). With a tall mug, you will probably need to brew the espresso separately (in a smaller cup or shot glass) and transfer the liquid into your mug.
Best materials & ergonomics for latte art cups
Generally, for better durability and heat insulation, I recommend ceramic or porcelain cups. These are less likely to break compared with glass and they will keep your coffee warm for longer.
Another aspect I look for is a good balance between aesthetics and ergonomics. Therefore, if I’m practicing latte art, I prefer a cup with a handle, which facilitates a steady and comfortable grip when pouring the milk over the espresso.
Tip 2: Espresso first, milk second
There’s quite a bit of confusing information out there, saying that you should steam the milk first and then pull your shot of espresso. Otherwise, the espresso will eventually “die”. Based on my experience, I find this purely anecdotal and it shouldn't change the way you organize your workflow. If you plan to practice latte art, I definitely recommend pulling your espresso shot first.
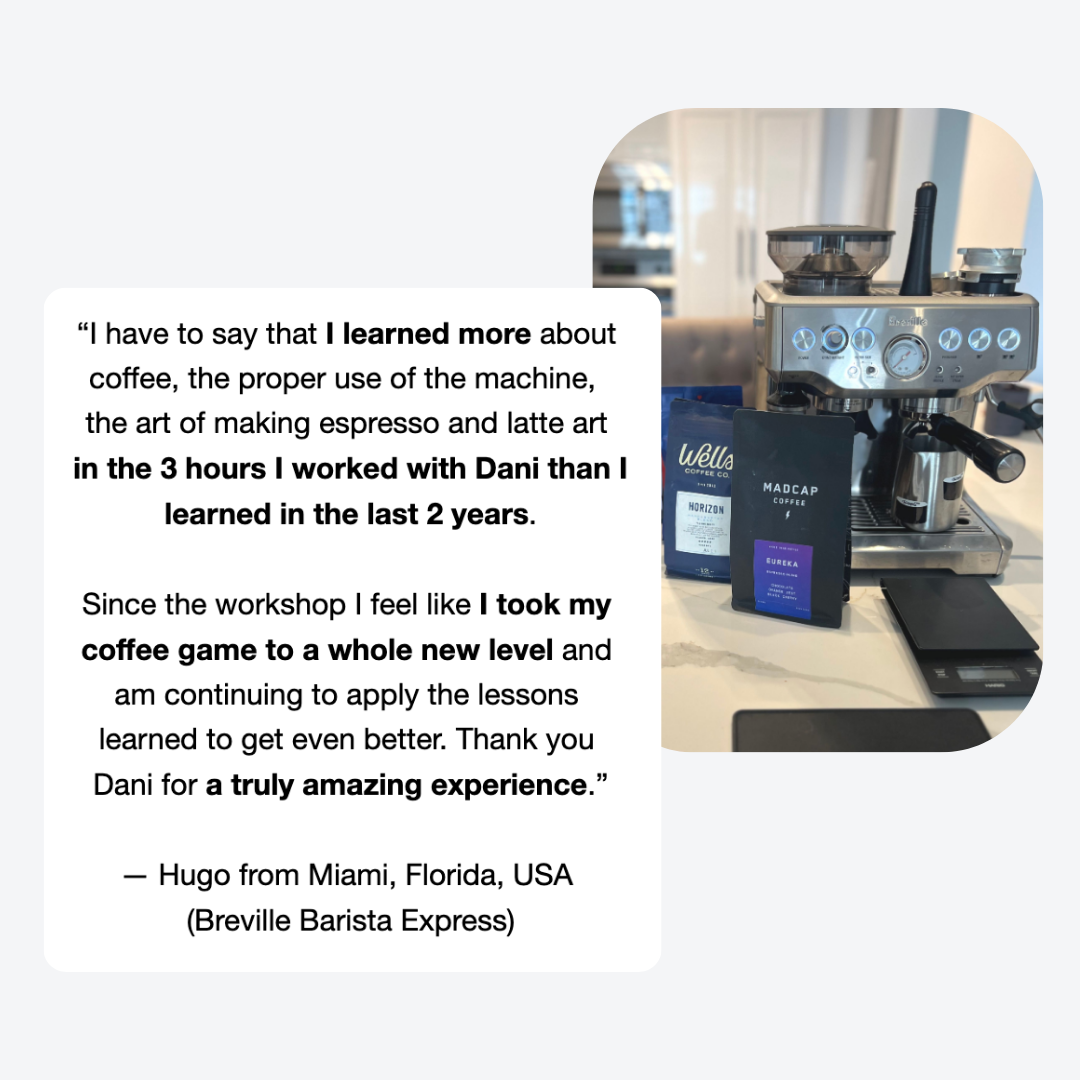
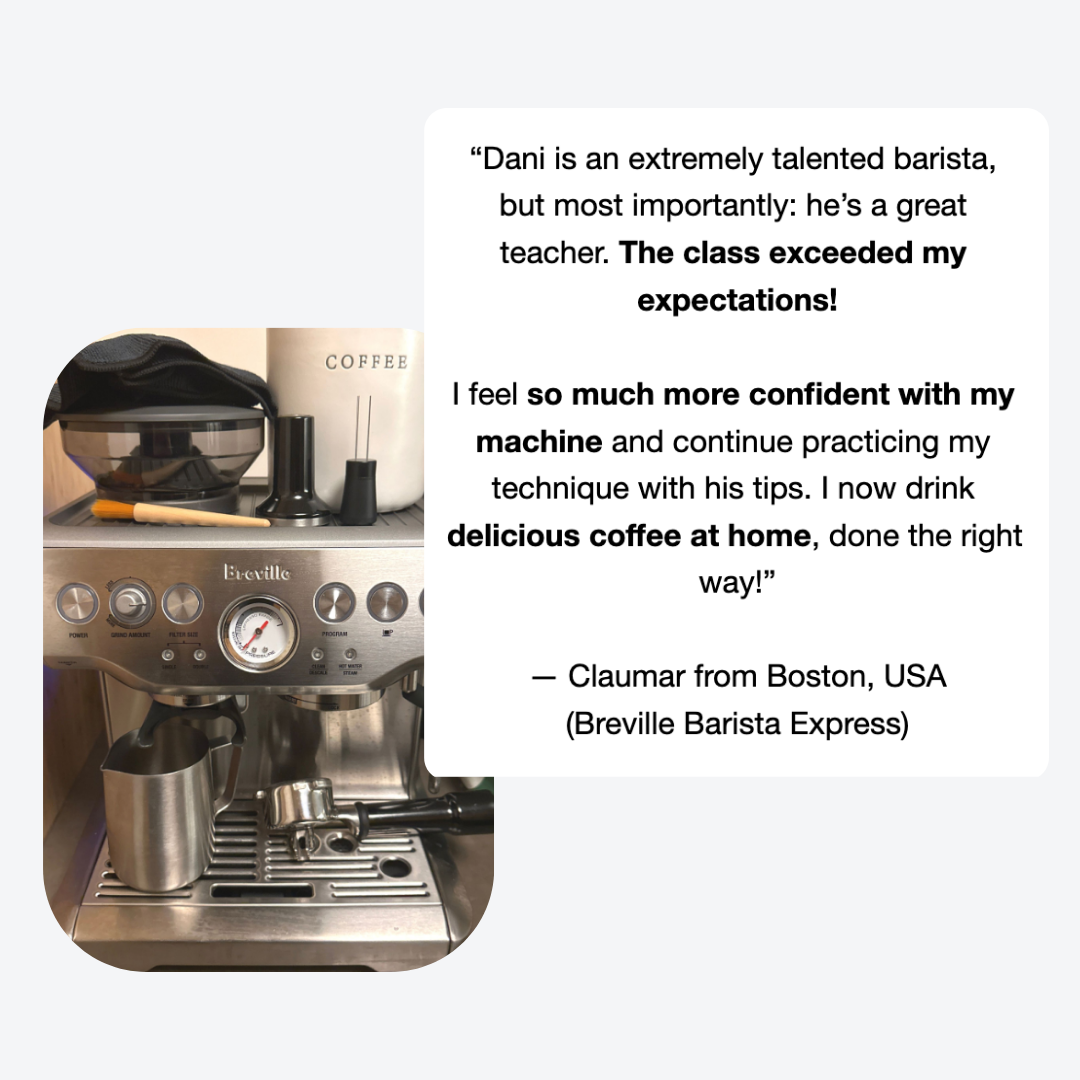
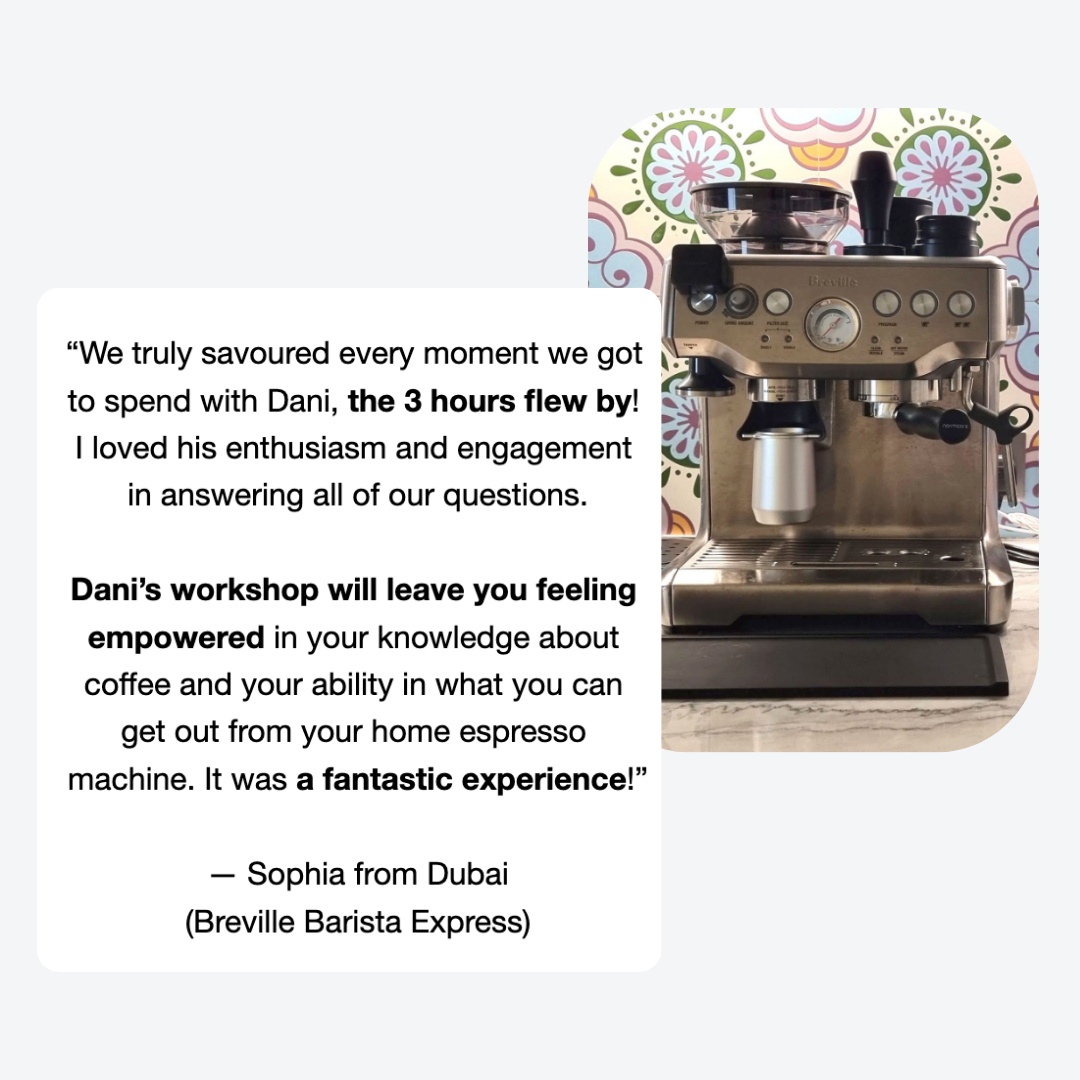
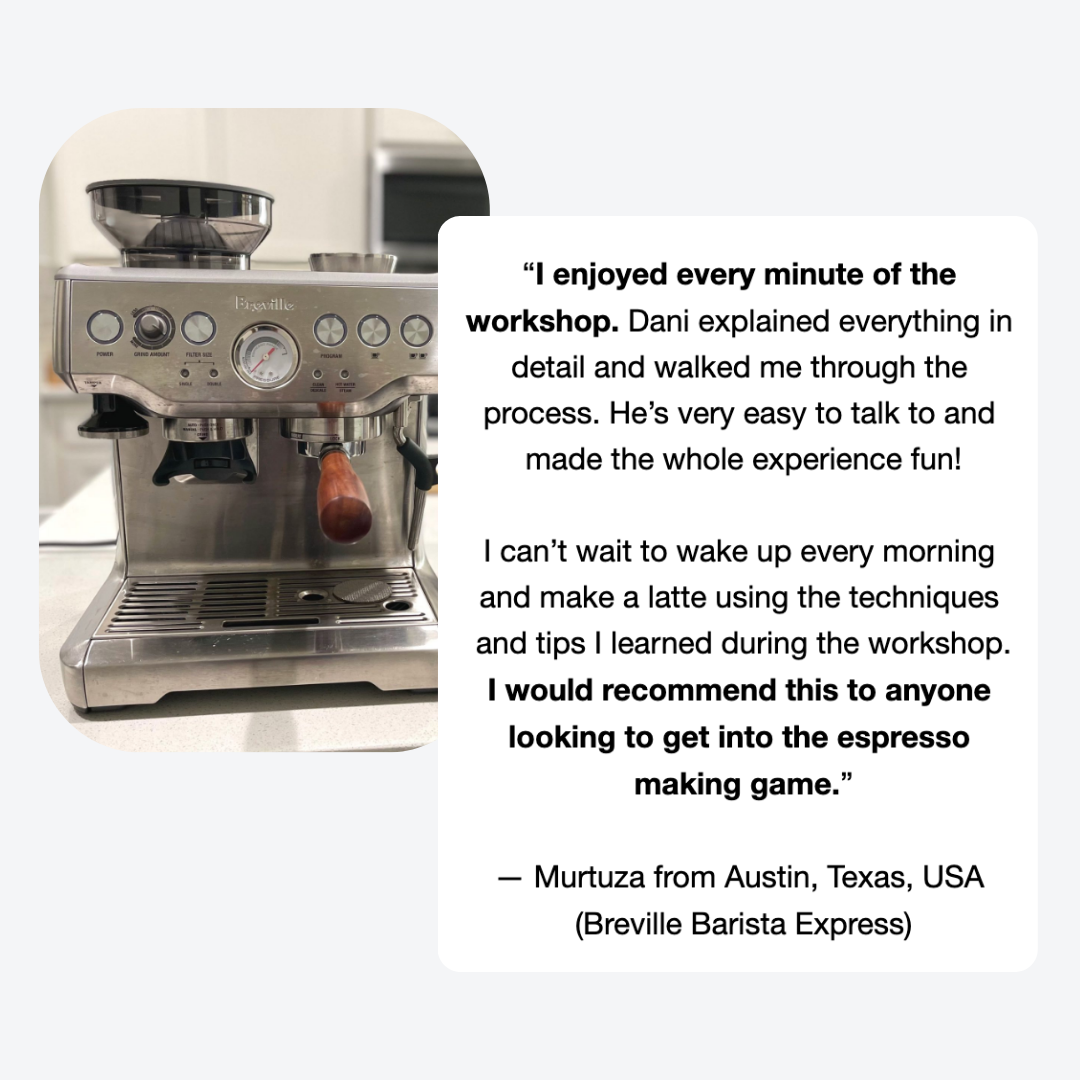
For example, let’s take the Breville Barista Express. This machine needs a few seconds to heat to steam temperature and a full milk steaming cycle on it may take up to 50 seconds. Yes, the espresso you made prior will have cooled down slightly (it’s still important to be quick, so the espresso doesn’t sit for longer than necessary). But, with the right milk texture, you’ll get to a tasty coffee drink.
Taken the other way around i.e. when you steam milk first and make espresso second, you run into a problem: the milk may separate, meaning the foam rests on top and the hot milk settles at the bottom. So, when you start pouring your latte art pattern, you’ll notice the milk flowing first, followed by a blob of foam. You can swirl the milk pitcher while the espresso is brewing, but the milk texture tends to deteriorate in the meantime. I always find it harder to make consistent latte art with steamed milk that has been sitting prior to pouring.
Note: The above applies to single-boiler home espresso machines that can perform one task at a time. With heat-exchange and dual-boiler machines, making espresso and steaming milk is possible simultaneously.
Tip 3: Espresso crema
Break the bubbles on top of the espresso
When you’re about to pour the milk over the espresso, you want to ensure a smooth surface, so the two can incorporate nicely. This also helps achieve a clean design on top. When the espresso just finished brewing, you may see bubbles at the surface (especially if the cup sits very low relative to the portafilter and the espresso flows from a distance into the cup).
I recommend tapping the cup of espresso gently against the table or bar countertop – this should break the bubbles, create a smooth surface, and ultimately help with a more crisp and clean latte art pour.
Give your espresso a swirl
This tip has to do with the coffee freshness. When the coffee beans are on the fresher side, you might have noticed that they produce an overly rich layer of crema, which I found can interfere with the accuracy of your latte art.
This is why, before I incorporate the milk into the espresso, I give the cup a few vigorous swirls, to break and smoothen the crema on top of the espresso. In addition, I personally prefer to use a shot glass in the process. So, I brew the espresso in the shot glass, I transfer it into the cup and then pour my latte art pattern. Doing so makes my workflow easier and I’ve noticed a significant improvement!
I hope you find these tips helpful and, if you’d like to dive deeper, you may consider our espresso and latte art home barista workshops. Happy brewing!

