5 mistakes home baristas make with their Sage or Breville home espresso machines
Make better coffee at home with these simple fixes

Time and time again I run into these 5 mistakes home baristas make with their Sage or Breville home espresso machines. Applying the fixes I talk about below is a simple, yet impactful way to make better coffee at home, absolutely worth it!
Not using a coffee scale
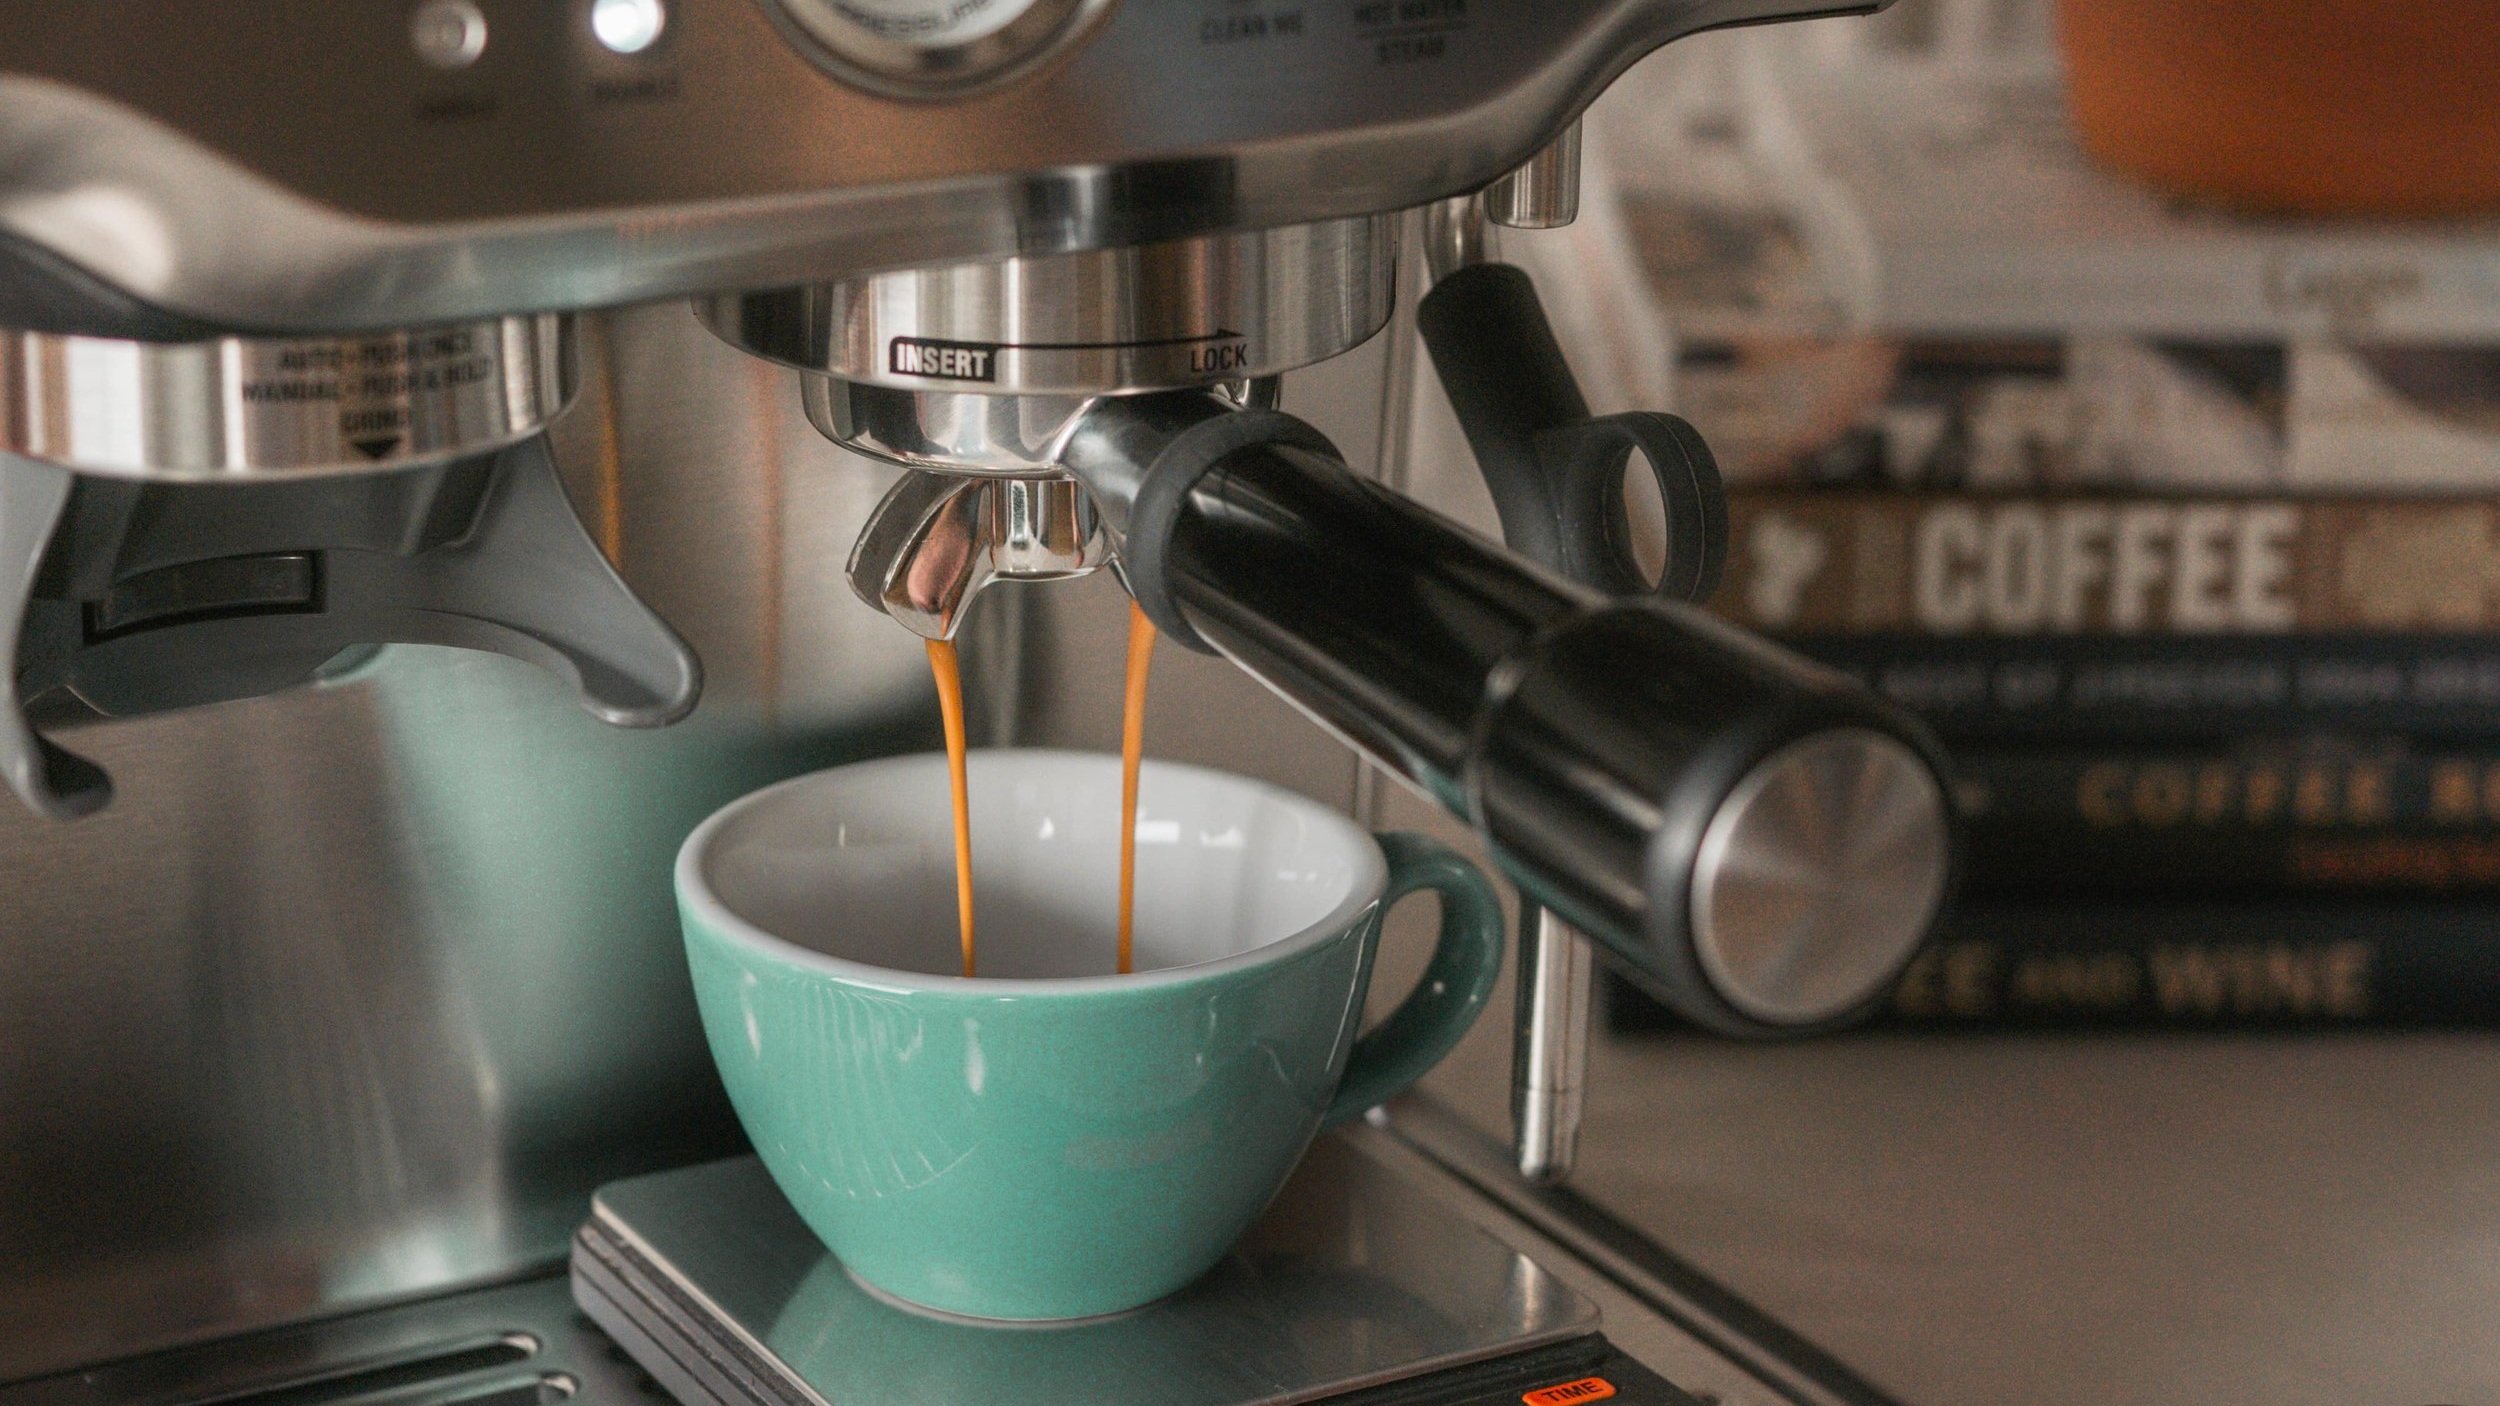
One of the things I strongly recommend beginner home baristas is to invest in a coffee scale – it allows you to be consistent, reduce waste and replicate the same great tasting espresso recipe every day. Even more so if you enjoy trying out different roasters and coffee beans regularly. Since they will be of different origins and roasting styles, dialing in new coffee beans will require slightly different recipes (i.e. dose, yield, grind size), so this is where a scale comes in very handy. And, even if you prefer sticking to the same coffee beans all the time, your espresso will always require small adjustments.
Having a scale is a great way to check and make sure you’re on the right track.
Not grinding fine enough
Although they are doing all the right steps in their puck prep routine (i.e. dosing, WDT, distribution tool, tamping), I still see many home baristas under-extracting their espresso shots – when this happens, you will notice a fast extraction and the espresso will be underwhelming in taste, with low sweetness and an empty, often unpleasant aftertaste. This is when you’ll most likely end up with a watery and soggy espresso puck too. The particles of coffee are so coarse and the space in between them so large, such that the water is flowing right through. If you’re also using a naked portafilter, it can create a mess on the drip tray, due to the excessive spraying and spurting.
Check the grind size on your grinder, readjust to a couple of steps finer and give it another go.
Using low quality coffee beans
If you have a home espresso machine and want to make proper espresso at home, stop buying coffee beans from supermarkets and groceries stores – very often they are roasted too dark, which not only makes them difficult to dial in, but they result in a bitter espresso, with unpleasant notes of ash and burnt toast. On top of that, there is almost no transparency to where the coffee is coming from and when it was roasted.
Instead, do a quick research locally and find a specialty shop or café in your area that sells freshly roasted coffee beans. Seek out where the coffee is harvested from, when it was roasted, what are the expected flavour notes (just as a mere guideline when brewing) and, if you have specific taste preferences, don’t hesitate to ask the staff for advice.
Using the Auto settings instead of the Manual mode
Depending on the grind setting used, with the Auto settings you will extract anywhere between 40 and 60 grams of espresso, which I usually find watered down and unpleasant. The longer the extraction, the more diluted the espresso shot will turn out.
The Manual mode helps keep my preferred brew ratio in check (dose of ground coffee relative to the amount of liquid espresso in the cup e.g. 1:2). With the help of a scale, I can easily track and stop the espresso extraction once the ideal amount of espresso has been achieved.
Not pre-warming the portafilter
Many home baristas still rest the portafilter on the drip tray and once the machine is on, they dose, tamp and run the espresso shot with no pre-warming in advance. Keep the portafilter hot – if your portafilter is cold, it will pull away much of the heat from the brewing water and you will likely end up with an unpleasant and under-extracted espresso.
Personally, I keep it locked in the espresso machine at all times. When I turn the espresso machine on, I usually wait for about 10 - 15 minutes for the portafilter to properly warm up before I make my espresso. Alternatively, you can run hot water through the portafilter and get it up to temperature more quickly in that way (just make sure you dry it well afterwards, using a clean towel or cloth).
I hope you find these tips helpful and, if you’d like to dive deeper, you may consider our espresso and latte art home barista workshops. Happy brewing!

P.S. Did you find this article helpful? Please consider supporting our work for just the price of a cup of coffee here. Thank you so much!
And, if you enjoyed reading this article, you might find the one here interesting too – Easy checklist before making espresso on the Sage or Breville home espresso machines